The table display can be customized in the following ways:
To sort the list by any column, click in the column header.
To filter any column, enter the required entry in the Filter field below the column headers.
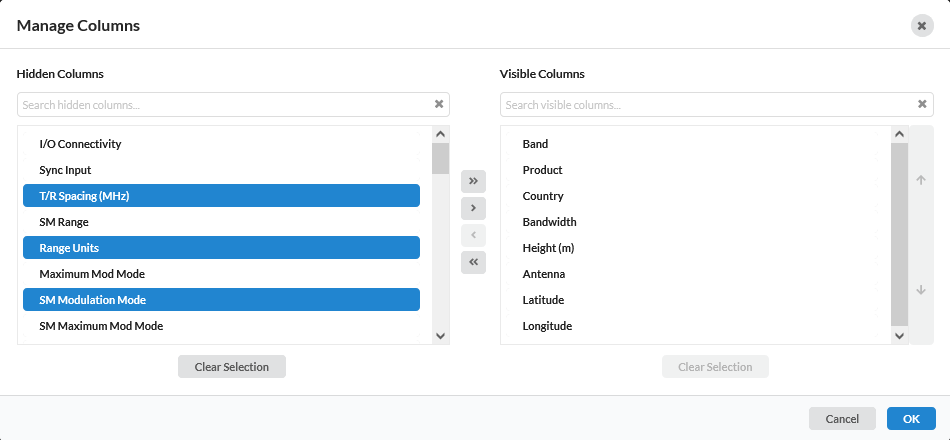
The dialog box shows the items already displayed in the table on the right hand side and any additional items that can be displayed on the left hand side.
To move items between the two sides use the highlighted buttons in the centre.
To move some selected items, highlight the ones required and then use the top two buttons (> to add items to the table or < to remove from items from the table).
To move all items from one side to the other select >> or <<.
To change the column order reorder the items on the right hand side. To reorder the items select the items to be moved and use the up and down arrow buttons at the side of the window. The items will appear in the table in the same order as in the list.
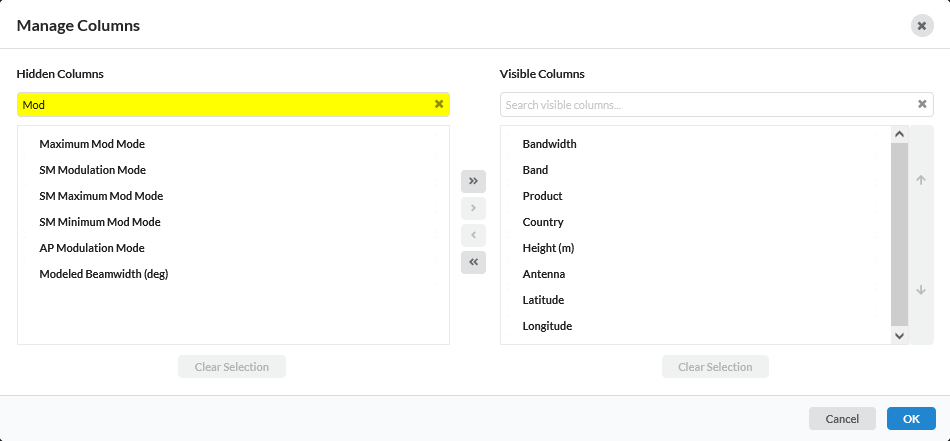
There is a filter option on both sides of the table, which work the same as other filters in LINKPlanner. When you use the filter the reduced list is indicated. Within the filtered list you can continue to select and move using the single move buttons, however using the move all buttons (double arrow) will only move across what has been filtered.
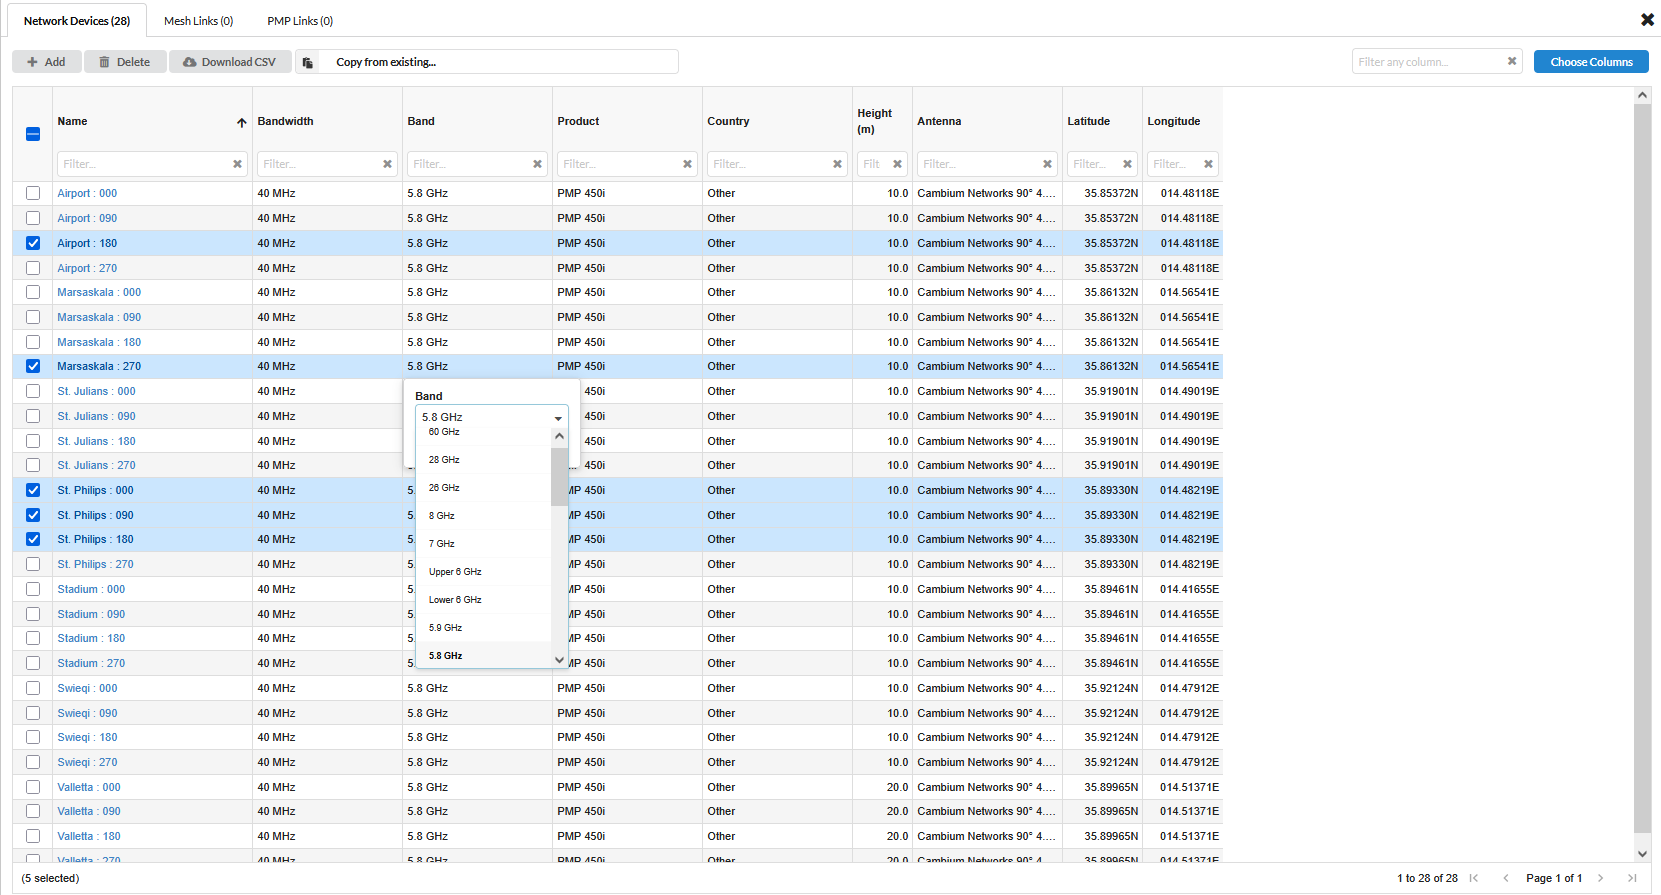
Some of the columns support editing, where the values can be changed in the table view. To change a value in the table view, move the cursor over the cell and click . Select from a pre-defined list (for example when changing the band), for numeric values either use the up and down arrow keys or type a new value into the cell.
Values that are editable can also be changed for multiple rows simultaneously by first selecting the required rows and then selecting a cell that needs to be changed. If the new value is not valid for the other item settings (e.g., choosing a PTP 670 product while the band is set to 38 GHz), the product value will not update.
To quickly select multiple rows in a table, use CTRL + click to select individual rows and SHIFT + click for continuous selection in the Windows operating system.
Applying a change to a large table may take some time to complete, particularly if it requires displayed results to be recalculated.
Using a PTP Link, PMP Network Device or PMP Link as a template
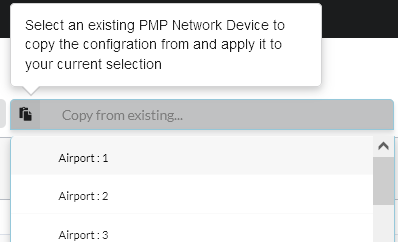
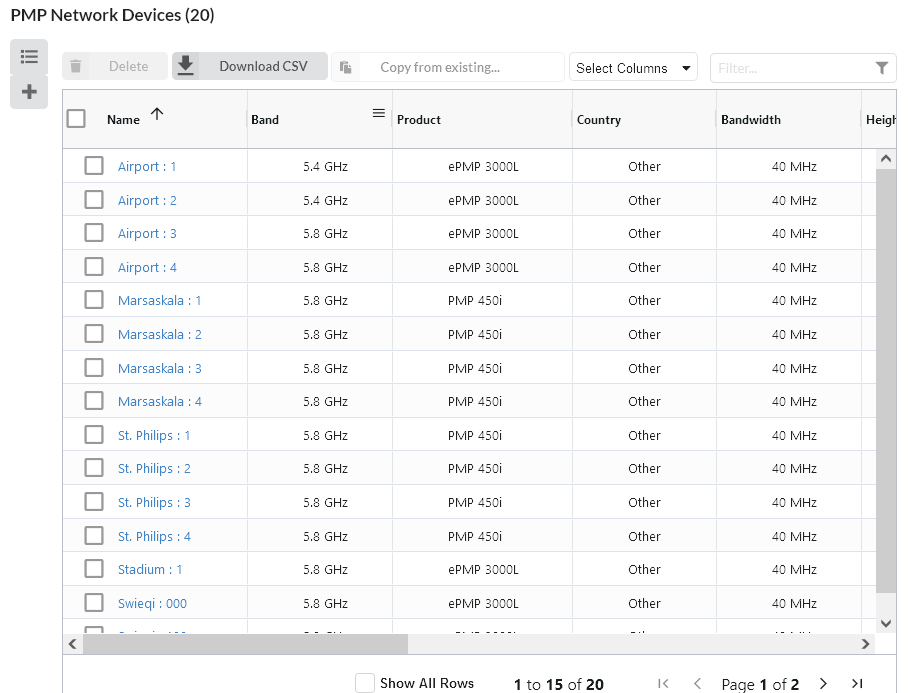
The PTP Links, PMP Network Device, PMP Links, and Subscriber Modules tables allow one device (row) to be used as an equipment template that can be applied to either other rows in the table to quickly update existing PTP Links, Network Devices, or Subscriber Modules with the same configuration, or to create new ones using that configuration.
To update existing PTP Links, Network Devices, or PMP Links, select the rows to be updated, then choose Copy from Existing… and select the device to use as the template.
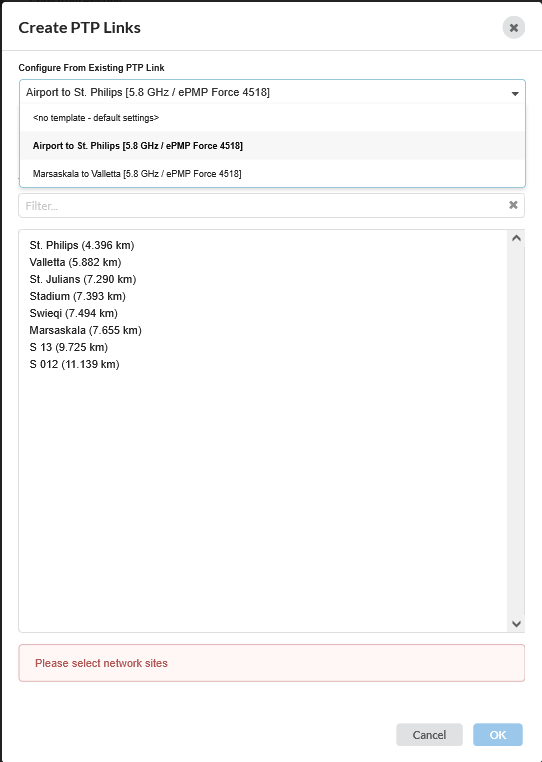
To create new PTP Links, Network Devices, or PMP Links, click , then select the required equipment template from the Configure From Existing dropdown list in the pop-up window
 .
.